Mold Surface Grinding and Polishing Tips for Better Mold Quality
Proper mold grinding and polishing techniques are essential for achieving smooth mold surfaces, reducing part defects, and ensuring stable mold release during production. Careful handling during each stage of polishing can prevent scratches, uneven surfaces, and demolding issues.
Inspect and Clean the Mold Surface Before Grinding
Before starting work on a new mold cavity, the surface of the workpiece should be inspected carefully. The mold surface should then be cleaned with kerosene or a suitable cleaning solution to remove oil, dust, and debris.
Keeping the mold surface clean prevents abrasive stones from becoming clogged with dirt, which can reduce cutting performance and damage the mold surface.
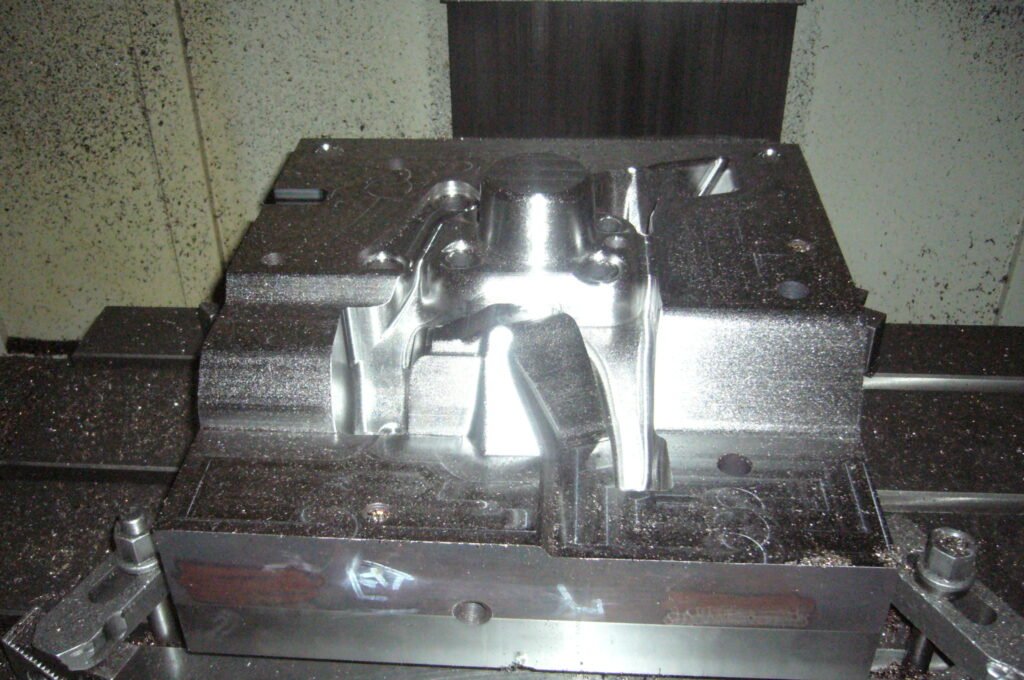
Process Difficult Areas First
When removing rough machining marks, grinding should begin with the most difficult areas, such as deep cavities, narrow corners, and hard-to-reach surfaces. After these sections are completed, the process can continue to side walls and larger flat surfaces.
This approach helps avoid missing hidden areas and makes it easier to maintain consistent surface quality across the entire mold.
Polish Multi-Part Mold Components Separately
For molds that contain multiple assembled components, each workpiece should first be polished individually to remove rough machining marks or EDM patterns. After each piece is finished separately, the assembled mold can then be polished as a complete unit.
This method helps maintain dimensional accuracy and ensures that all mating surfaces fit together correctly after polishing.
Check Flat Surfaces Carefully
Large flat surfaces and side walls should first be polished with oil stones to remove coarse marks. A straight steel ruler or inspection plate can then be used to check for uneven areas, low spots, or reverse draft conditions.
Uneven surfaces can create demolding difficulties, increase friction, or cause scratches on molded parts during ejection.
Protect Critical Mold Surfaces
Important mold areas such as parting lines, shut-off surfaces, and bonding faces should be protected during polishing. Protective tape, thin steel sheets, or other masking methods can help prevent accidental over-polishing or damage.
Proper protection is especially important for maintaining accurate fit and preventing flash issues during production.
Maintain Proper Grinding Angle
When grinding flat mold surfaces, the oil stone should be moved back and forth with a shallow angle. The working angle should generally remain below 25 degrees.
If the angle is too steep, the grinding force becomes concentrated on a small area, which can create rough lines, scratches, and uneven surfaces.
Use Proper Sandpaper Size
When polishing flat surfaces with copper blocks, bamboo sticks, or backing tools, the sandpaper should not be larger than the tool surface area.
Oversized sandpaper can extend beyond the polishing area and accidentally damage surrounding mold surfaces.
Avoid Excessive Use of Grinding Machines
Grinding machines should not be used excessively on mold surfaces because the grinding wheel may create rough textures, waves, or unevenness.
If grinding equipment must be used, the grinding wheel should first be corrected and balanced to ensure smooth and accurate operation.
Match Tool Shape to Mold Geometry
The shape of the polishing tool should match the shape of the mold surface as closely as possible. This helps maintain uniform pressure and prevents local deformation or over-polishing.
Using the correct polishing tool shape is especially important for curved surfaces, ribs, deep cavities, and other complex mold features.