Injection Mold Change and Installation Safety Procedures Guide
Mold changing and installation are critical operations in injection molding production. Improper handling can lead to equipment damage, mold failure, or serious safety accidents. Standardized procedures and safety checks are essential to ensure smooth mold changeover and stable production.
1. Preparation Before Mold Change
Before changing the mold, preparation should be carried out according to the production plan.
- Wear safety equipment such as helmets and prepare necessary tools (wrenches, cloth, rust inhibitor, etc.)
- Confirm the selected machine matches the mold size and installation requirements
- Check cooling water connections and ensure water channels are unobstructed
- Verify oil circuits and threaded connections to prevent leakage
- Install lifting rings correctly, ensuring the engagement depth is greater than 1.5 times the ring diameter
- Use washers if the lifting ring does not fully contact the mold surface
Additionally, lifting equipment must be inspected:
- Check crane operation and emergency stop functionality
- Inspect wire ropes for damage or wear
- Ensure shackles are not deformed and match load capacity
2. Mold Lifting Safety Guidelines
Strict safety rules must be followed during mold lifting operations:
- Molds ≥10 tons require two wire ropes and four lifting rings
- Molds <10 tons may use a double sling wire rope
- Never operate the crane while hooking to avoid finger injuries
- Ensure the mold is balanced during lifting (slight rear tilt allowed)
- Lift slowly and keep height below 80 mm before positioning
- Never stand under a suspended mold
- Maintain at least 1 meter distance from the mold during lifting
- Do not lift molds over people or machines
- Do not leave molds suspended for long periods
If any abnormal condition occurs (noise, smell, uncontrolled movement), stop immediately and report for maintenance.
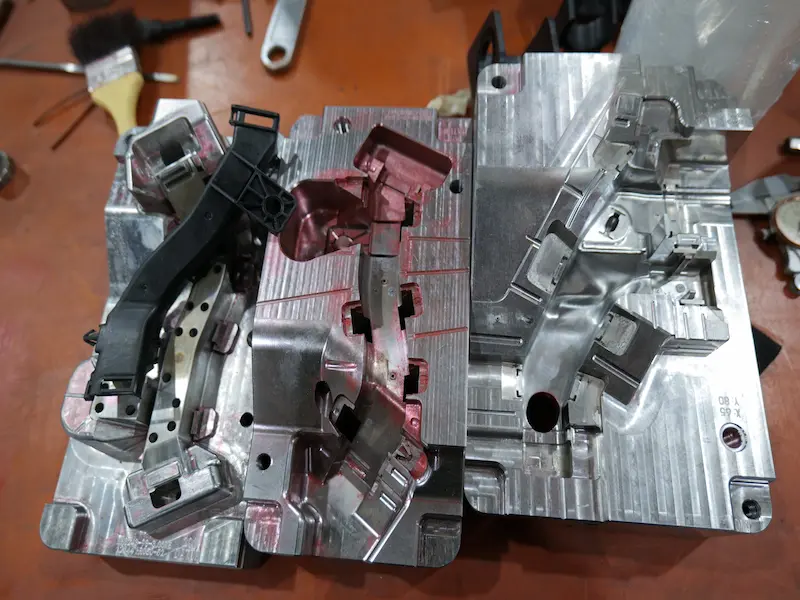
3. Mold Installation and Machine Adjustment
- Clean and lubricate the mold before installation
- Reduce mold opening and closing speed to safe levels
- Set the machine to manual and low-pressure mode
- Measure mold thickness and adjust machine accordingly
- Align positioning ring and ensure proper seating before clamping
- Avoid forcing mold closure except for fine adjustments
- Turn off the oil pump during installation when possible
Additional installation requirements:
- Use sufficient clamping plates (minimum 8 for standard machines)
- Ensure screws are tightened with proper depth (≥1.5× screw diameter)
- Avoid using improper tools such as open-end wrenches for tightening
- Remove lifting equipment before operating the mold
- Hot runner molds must be preheated to prevent seal damage
- Do not operate the machine while maintenance or cleaning is in progress
4. Mold Setup and Debugging
- Open and close the mold to verify smooth operation
- Adjust mechanical safety devices and limit positions
- Connect water lines, oil circuits, and auxiliary systems
- Check for leaks in water and oil systems
- Perform trial runs to confirm mold performance
5. Workplace Organization and Cleanliness
- Store tools and components in designated positions
- Arrange cooling pipes properly to avoid interference
- Use containers to collect leaked hydraulic oil
- Clean machine surfaces and surrounding floor area after installation
Conclusion
Standardized mold change and installation procedures are essential for safe and efficient injection molding operations. By following proper preparation, lifting safety rules, installation steps, and maintenance practices, manufacturers can reduce risks, protect equipment, and ensure stable production performance.