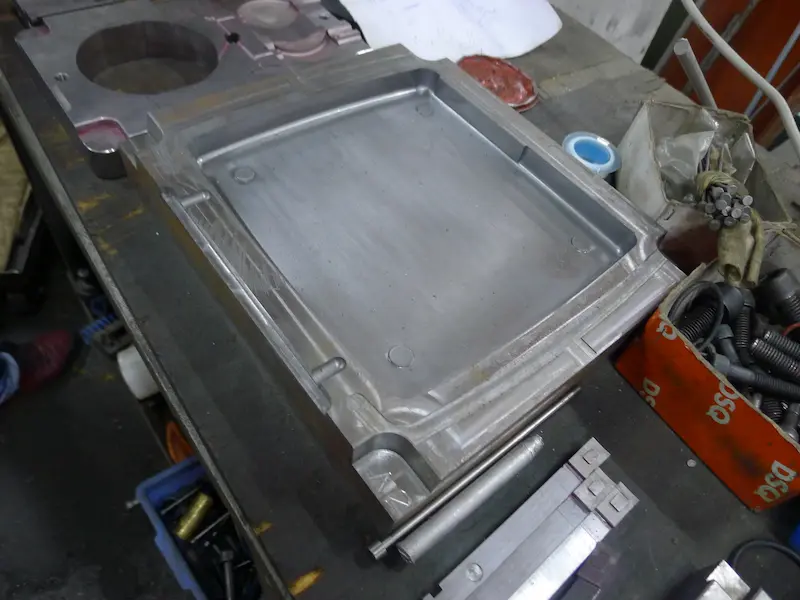
Secondary Welding Chamber and Secondary Diversion Design in Aluminum Extrusion Dies
Extrusion dies are critical to the production of aluminum profiles, directly influencing dimensional accuracy, metal flow balance, surface quality, and overall extrusion efficiency. In many practical applications, die design still depends heavily on engineering experience, which can make die performance difficult to predict before trial production. As a result, repeated die testing and correction are often required before stable output is achieved.
1. The Role of the Secondary Welding Chamber
A secondary welding chamber can be introduced as an optimization feature in extrusion die design to improve metal flow behavior and compensate for limitations in the initial feeding structure. In conventional die designs, insufficient control of material flow may lead to defects such as poor filling, unbalanced flow before and after the feeding zone, opening and closing inconsistencies, or profile distortion during extrusion.
By adding a secondary welding chamber, the die can better regulate the redistribution and recombination of metal flow inside the tooling. This helps reduce feeding defects and improves the consistency of material movement through the die. As a result, the temperature distribution and stress distribution across the profile section become more uniform, which supports better profile formation and improves extrusion output.
In practical terms, the optimized secondary welding chamber design helps address uneven speed distribution in the original die layout. A more balanced flow path can improve profile stability, reduce deformation risk, and increase production efficiency during aluminum extrusion.
2. The Role of Secondary Diversion
Secondary diversion is another useful optimization method in extrusion die design, especially for solid aluminum profiles with large wall thickness differences. When the original die structure cannot adequately balance the metal flow, thick and thin sections of the profile may exit the die at different speeds, causing dimensional deviation and shape instability.
In some cases, the original die design may include only a common die and a die pad. After the first production trial, the results may remain unsatisfactory, with problems such as a small forming angle, excessively thin thin-wall sections, or dimensions that are too small. Even after conventional rework, such as enlarging the thin-wall area or lowering the bearing length, the improvement may still be limited.
To solve these problems, a secondary diversion design can be introduced. This two-stage flow optimization method modifies the metal distribution inside the die and helps correct the uneven velocity distribution found in the initial design.
Typical optimization measures include allowing more direct flow through the thin-wall section, widening the outlet area of the thick-wall section, and slightly increasing the thickness of the thick-wall region. In addition, the die hole opening can be adjusted to a more suitable geometry, such as a 90-degree opening angle, while the sizing bearing lengths should also be revised accordingly to achieve better dimensional control.
Conclusion
Both the secondary welding chamber and the secondary diversion structure are valuable optimization strategies in aluminum extrusion die design. They help compensate for deficiencies in the original die layout, improve metal flow uniformity, reduce stress and temperature imbalance, and solve profile speed distribution problems between thick and thin sections.
For complex aluminum profiles, especially those with large wall thickness variation or unstable initial extrusion results, these design improvements can significantly enhance profile quality, reduce die correction cycles, and improve production efficiency. A well-optimized extrusion die design ultimately supports more stable manufacturing and better long-term process control.