Rapid Prototyping Process from 3D Modeling to Post-Processing
Rapid prototyping is a manufacturing method directly driven by a three-dimensional CAD model. To produce a prototype part accurately, the process typically starts with digital model creation and ends with post-processing to improve surface quality and mechanical performance. Understanding these key steps is important for successful prototype development.
1. Building the 3D Model of the Product
Because a rapid prototyping system is directly driven by a 3D CAD file, the first step is to create a three-dimensional model of the part to be manufactured. This digital model serves as the foundation for the entire prototyping process and determines the geometry, dimensions, and overall accuracy of the final part.
A 3D CAD model can be created directly using computer-aided design software such as Pro/E, I-DEAS, SolidWorks, or UG. For new product development, this is usually the most common method because it allows the designer to define product features, dimensions, and assembly relationships in a controlled way.
2. Converting Existing Product Data into a 3D Model
When a complete 3D model is not available, there are other ways to obtain the required data for rapid prototyping.
From 2D drawings
An existing two-dimensional drawing can be converted into a three-dimensional model. This method is often used when only engineering drawings or legacy product documents are available.
From physical samples
A physical product can also be digitized through laser scanning or CT scanning to obtain point cloud data. Reverse engineering methods are then used to reconstruct a 3D model from the scanned data. This approach is especially useful when redesigning, duplicating, or improving an existing part.
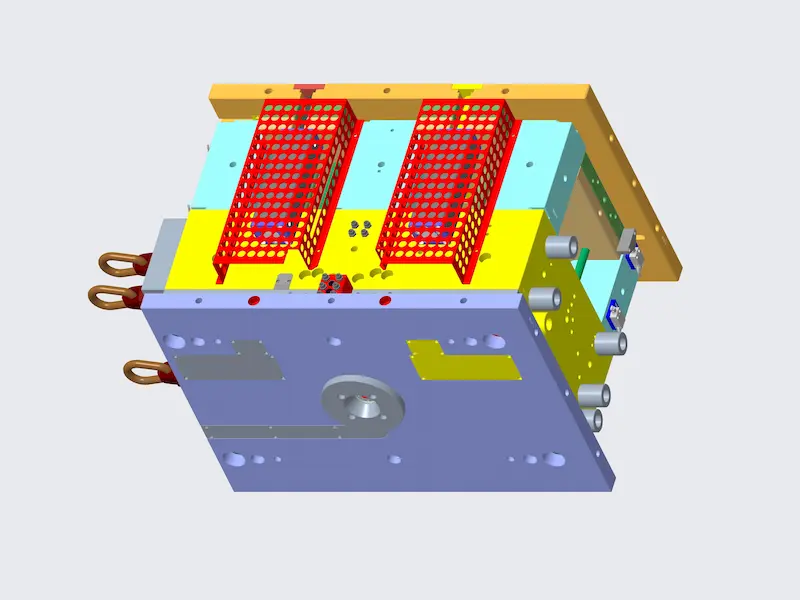
3. Prototype Forming
Once the 3D CAD model is prepared, the rapid prototyping system uses the model data to build the part layer by layer. Depending on the selected process and material, the prototype can be produced for design verification, structural evaluation, appearance review, or functional testing.
4. Post-Processing of the Molded Part
After the part is removed from the molding or printing system, additional finishing steps are often required. Post-processing helps improve the final appearance, dimensional stability, and strength of the prototype.
Typical post-processing operations may include:
Polishing and surface finishing
The molded part may be polished or smoothed to improve surface quality and remove visible layer marks or process traces.
Coating or painting
Surface coating can be applied to improve appearance, provide protection, or better simulate the finish of the final production part.
Thermal post-treatment
Some molded parts may be placed in a high-temperature furnace for post-sintering or further curing. This can improve material strength and enhance the performance of the final prototype.
Conclusion
The rapid prototyping process begins with accurate 3D model construction and continues through part forming and post-processing. Whether the model is created directly in CAD software, converted from 2D drawings, or reconstructed through reverse engineering, the quality of the digital data is critical to the final result. With proper finishing and strengthening steps, rapid prototyping can provide valuable support for product development, testing, and manufacturing preparation.